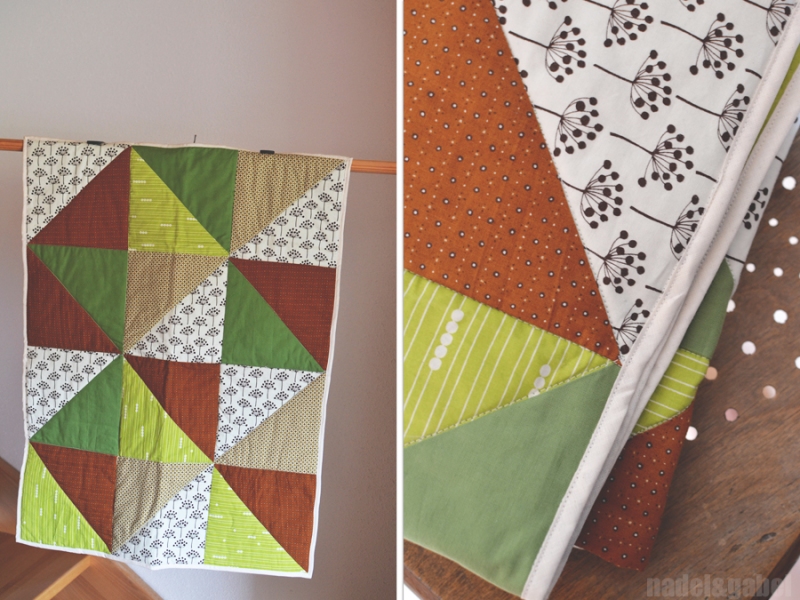
Here we go – another baby blanket since this knitted one (which is well loved, as I hear with pride). And I am aunt again!
And while the little boy makes his first steps in this world (figuratively, of course), I have already successfully absolved my first quilting project.

For a long time I’ve had in my mind to attempt this unconquered bastion of sewing. After buying helpful equipment like a cutting mat, a rotary cutter and a quilting ruler, I finally gave it a go and started with a simple quilting pattern that doesn’t involve too much geometry. But triangles! I knew that my first quilt should be somehow “triangular”.
Is it presumptuous to give tips when you’ve just sewed your first quilt? Anyway, here are some things I learned (partly learning by doing wrong) that might help you:
1. Always wash and iron fabric before sewing.
2. Pay attention when working with fabrics with directional print to cut all of them in the same diagonal direction.
3. Make a model: either create a miniature patchwork and arrange the different pieces until you like it or/and arrange your cut pieces until you like it and take a picture of the final assembling (see on the picture).
4. Work thoroughly: Make stashes for blocks and rows and nummerate them so you don’t loose the overview.
5. Iron! Always keep you ironing board within reach and iron seams after each step – your quilt will visibly profit from it. Belive me, a really lazy ironer.
Quilted baby blanket (final size: 65 cm x 85 cm)
You will need
12 squares of cotton fabric (I used 5 different prints), each 24 cm x 24 cm
fabric for the back side: 45 cm x 100 cm
batting (I used this 100% cotton batting): 45 cm x 100 cm
binding (bias tape or DIY binding): about 320 cm
How to:
After cutting out 12 fabric squares, cut each of them into half diagonally. Arrange them until your satisfied with the pattern, (take a picture as pattern guidance), stash them in the chosen order from left to right, from first to fourth row.
Now pin and sew all 12 blocks, iron seams to one side and cut off sticking out corners. Be careful to work always with the same seam allowance. Then work row by row when pinning and sewing the blocks together. Again iron seams. Finally pin and sew rows together and for the last time sew seams and then the whole piece.
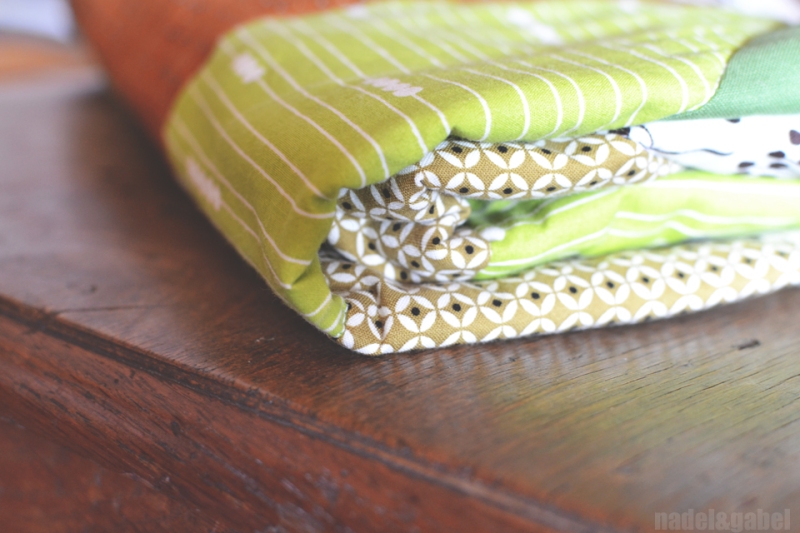
Now it’s time for the “sandwich”: Place the batting between the two quilt pieces, the batting faces the wrong sides. Pin in place along the seams. Start from the center and work your way to the edges, flatten the layers with your hands between pinning to avoid pleats.
For the stiching I followed the “stich-in-the-ditch” method, where you simply stich along (in) the seam (see picture). Start from the central horizontal and vertical seams to secure the pieces and then work yourself through all seams.
Trim backing fabric and batting to the size of the top piece.
I used ready made bias tape for the binding of this quilt, but feel free to make your own one. I followed the tutorial from my little sewing book, but there are tons of tutorials out there in the www that explain both how to make your own binding and how to fix it with a sewing machine.
I didn’t only benefit from this project, because I really like the final quilt, but also because of its educational effects: Quilting involves two virtues that I am in general not very good in: Patience and precision! I stepped out of my personal comfort zone – and this always means enrichment!


Die Decke ist wunderschön? Tolle Farben!
Dankeschön! Die Auswahl der Stoffe hat mich fast am meisten Zeit gekostet. In dem Bereich kann ich auf jeden Fall noch lernen.
Great combination of colours 🙂
This blanket is too cute!